
Open tray is not always the best answer for every electrical route. A solid bottom cable tray should be selected around the cable route, the installation environment, and the way maintenance teams will work after commissioning. This guide gives engineers, contractors, and purchasing teams a practical way to compare options before a submittal is approved.
The search intent behind solid bottom cable tray is usually practical rather than academic. Buyers want to know when it is appropriate, what details should be checked, and how to avoid ordering parts that do not match the real site conditions.
Where This Solution Fits
It is often selected where cables need more shielding from dust, debris, accidental contact, or a visually controlled pathway through occupied or equipment-heavy spaces. In these cases, solid bottom cable tray is useful because it connects cable organization with installability. It also helps the project team keep the route easier to inspect, expand, and repair.
- The route passes through dusty or busy service areas.
- Cables need a cleaner enclosed pathway.
- Control wiring benefits from organized separation.
- The owner wants a neater visible installation.
- Covers and fittings must be coordinated from the beginning.
A standard cable tray system is intended to support and route insulated cables while keeping them accessible. A well specified solid bottom cable tray does that job while also addressing the extra project concern that makes this topic worth separating from a general tray purchase.
Specification Factors to Confirm
The most reliable specification describes the route, cable schedule, material, accessories, and inspection requirements. A vague request for solid bottom cable tray can lead to substitutions that look close on a quotation but create field problems during installation.
| Item | Why it matters | What to check |
|---|---|---|
| Route condition | The surrounding space affects material and accessory selection. | Check dust, splash, access, and nearby mechanical work. |
| Cable schedule | Cable size, weight, grouping, and future allowance shape the system. | Confirm cable heat, grouping, bend radius, and spare capacity. |
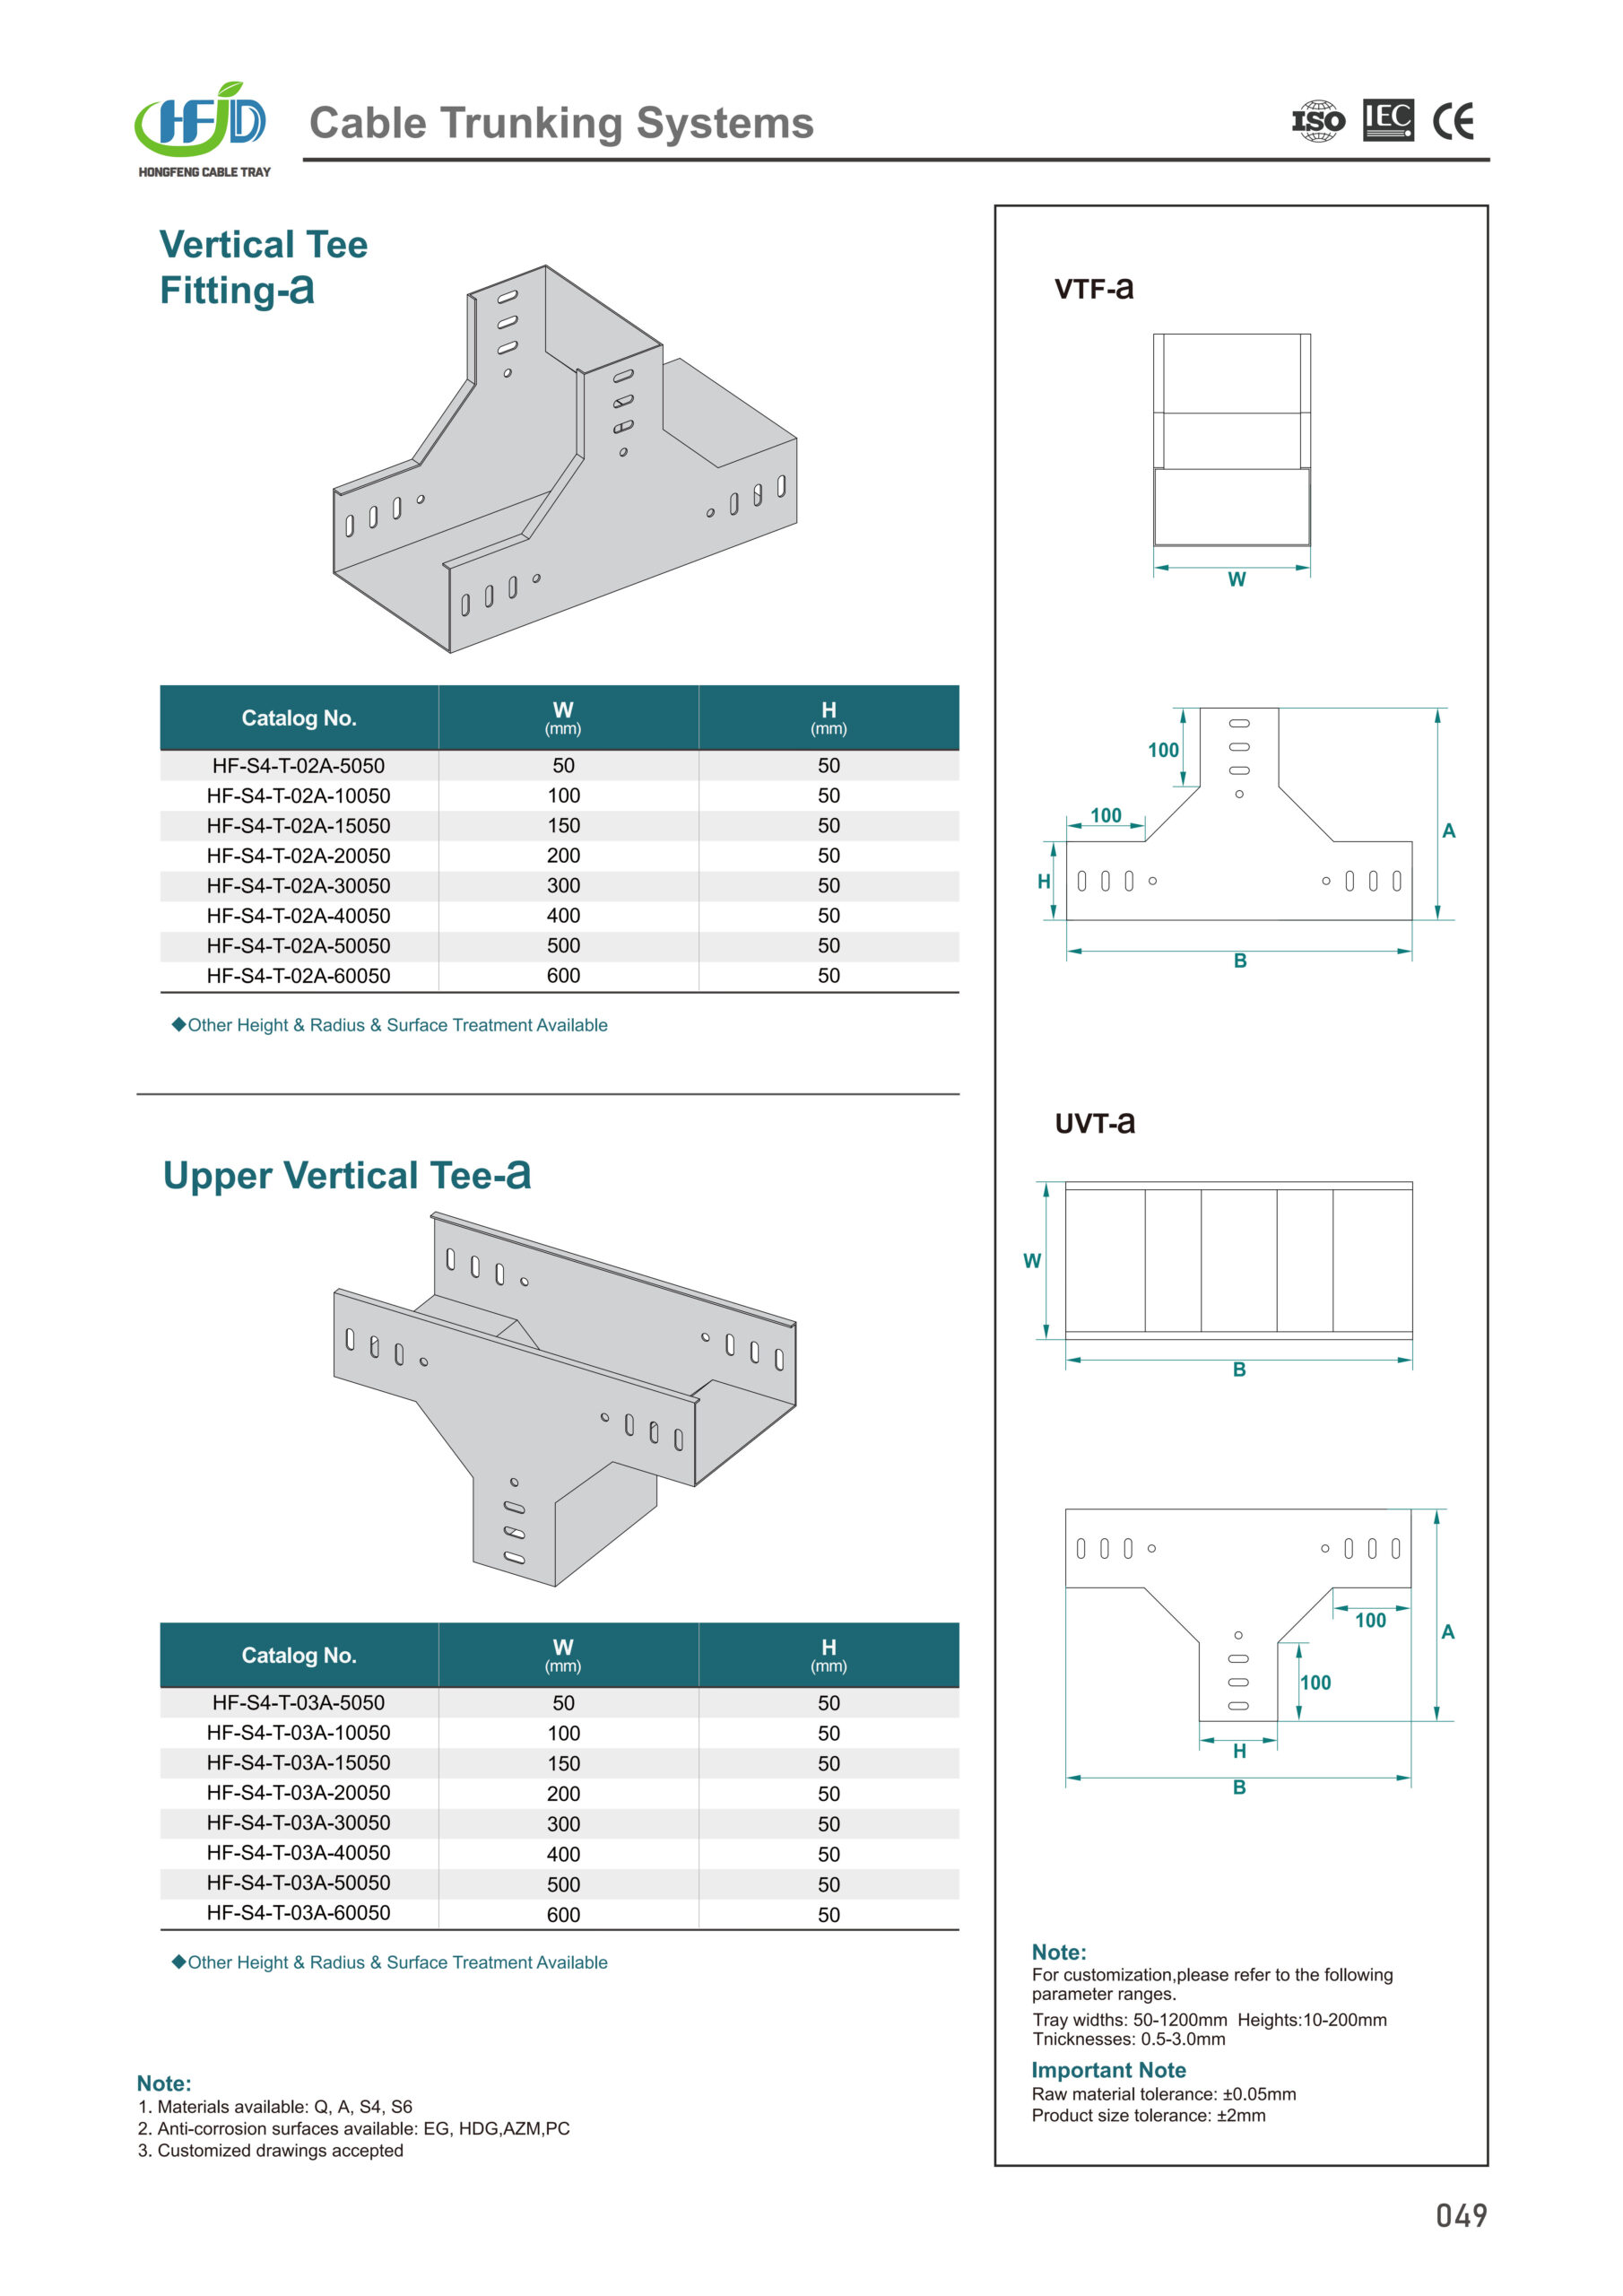
| Accessories | Matched parts reduce cutting, rework, and uneven alignment. | Review covers, elbows, tees, reducers, dividers, and couplers. |
| Support method | The system must remain stable across straight runs, bends, and transitions. | Coordinate supports below enclosed sections and fittings. |
| Maintenance access | Routes that cannot be inspected become expensive to operate. | Plan removable covers around inspection and pull points. |
For projects in the United States, electrical teams commonly review installation requirements against the NFPA 70 National Electrical Code. Cable tray construction and installation practices may also reference recognized industry standards from NEMA. Always confirm the applicable edition and local authority requirements.
Material and Installation Details
Steel, galvanized, stainless, or coated trunking should be selected around environment and finish requirements. The correct solid bottom cable tray decision should account for corrosion, load, finish, cable bend radius, and how the installer will handle direction changes. Material choice should also match fasteners, couplers, brackets, and field touch-up procedures.
Review cover access, field cutting, edge protection, and heat considerations before ordering. This is where a coordinated product package matters. Review the related options from a cable tray manufacturer, including solid bottom cable tray and powder coated cable trunking, so the route is not assembled from incompatible parts.

Common Mistakes to Avoid
The common mistake is choosing enclosure without checking cable heat and access. A solid bottom cable tray may be a small part of the electrical package, but poor coordination can cause delays, missing fittings, or installation shortcuts. Ask for drawings, accessory lists, and material notes before purchase approval.
Another common issue is treating solid bottom cable tray as a single item instead of a route system. Straight sections, bends, reducers, support hardware, covers, bonding details, and fasteners should be checked together. This prevents gaps between the purchase order, the drawing, and the actual site work.
For submittal review, ask the supplier to identify every solid bottom cable tray component that belongs in the route. The approved solid bottom cable tray package should match the drawing, accessory list, support layout, and maintenance access plan.
Questions Before Ordering
- What cable types, cable weights, and future expansion allowance are included?
- Will the route be exposed to moisture, dust, sunlight, chemicals, vibration, or impact?
- Which accessories are required for bends, drops, branches, and transitions?
- How will installers secure and align the system through the full route?
- Does the submittal show material, finish, dimensions, support points, and inspection access?
- Has the design been reviewed against project specifications and local code requirements?
These questions make it easier to compare one solid bottom cable tray proposal with another without relying on appearance alone. They also help procurement teams identify whether a low-detail quotation is missing fittings, covers, brackets, or installation hardware.
Practical Selection Workflow
Start with the cable function and the exposure problem you are trying to solve. Then review the cable schedule, environmental exposure, support spacing, accessories, and maintenance access. The final solid bottom cable tray approval should include product drawings, material notes, accessory quantities, and installation assumptions.
When those details are clear, solid bottom cable tray becomes more than a product name. It becomes a predictable cable management choice that helps installers build the route cleanly and helps owners maintain the electrical system after handover.